
Introduction 👋
Having a version control system is crucial for us - software developers. We all use it on an everyday basis to keep track of our code changes, especially when working in teams. We write a piece of code, push it up, create a pull request, wait for our peers to do the code review and once it has been approved, we merge it. Voilà, nice and clean!
But how can we achieve the same for our documentation? 💭
Problem 😖
We could write our documentation in the README.md file, but as documentation grows bigger and bigger, we want to keep our references organized and easy to find. GitHub provides that support by having a Wiki section in our repository. 👍
Unfortunately, there are some downsides to this approach:
- We can’t create pull requests for Wiki content, thus not making it reviewable & traceable.
- We can’t store code in the same place as Wiki content, thus not making it centralized.
Let’s take a closer look at the last bullet point. 🔍
As shown in the image below, we can observe that Code and Wiki are separated:

Here we can make the conclusion that they are managed and stored separately:
-
Codeis stored inhttps://github.com/<repository-owner>/<repository-name>.git. -
Wikiis stored inhttps://github.com/<repository-owner>/<repository-name>.wiki.git.
Solution 🤩
Here we’ll explain how to use GitHub Actions combined with a short script to save the day! 🎉
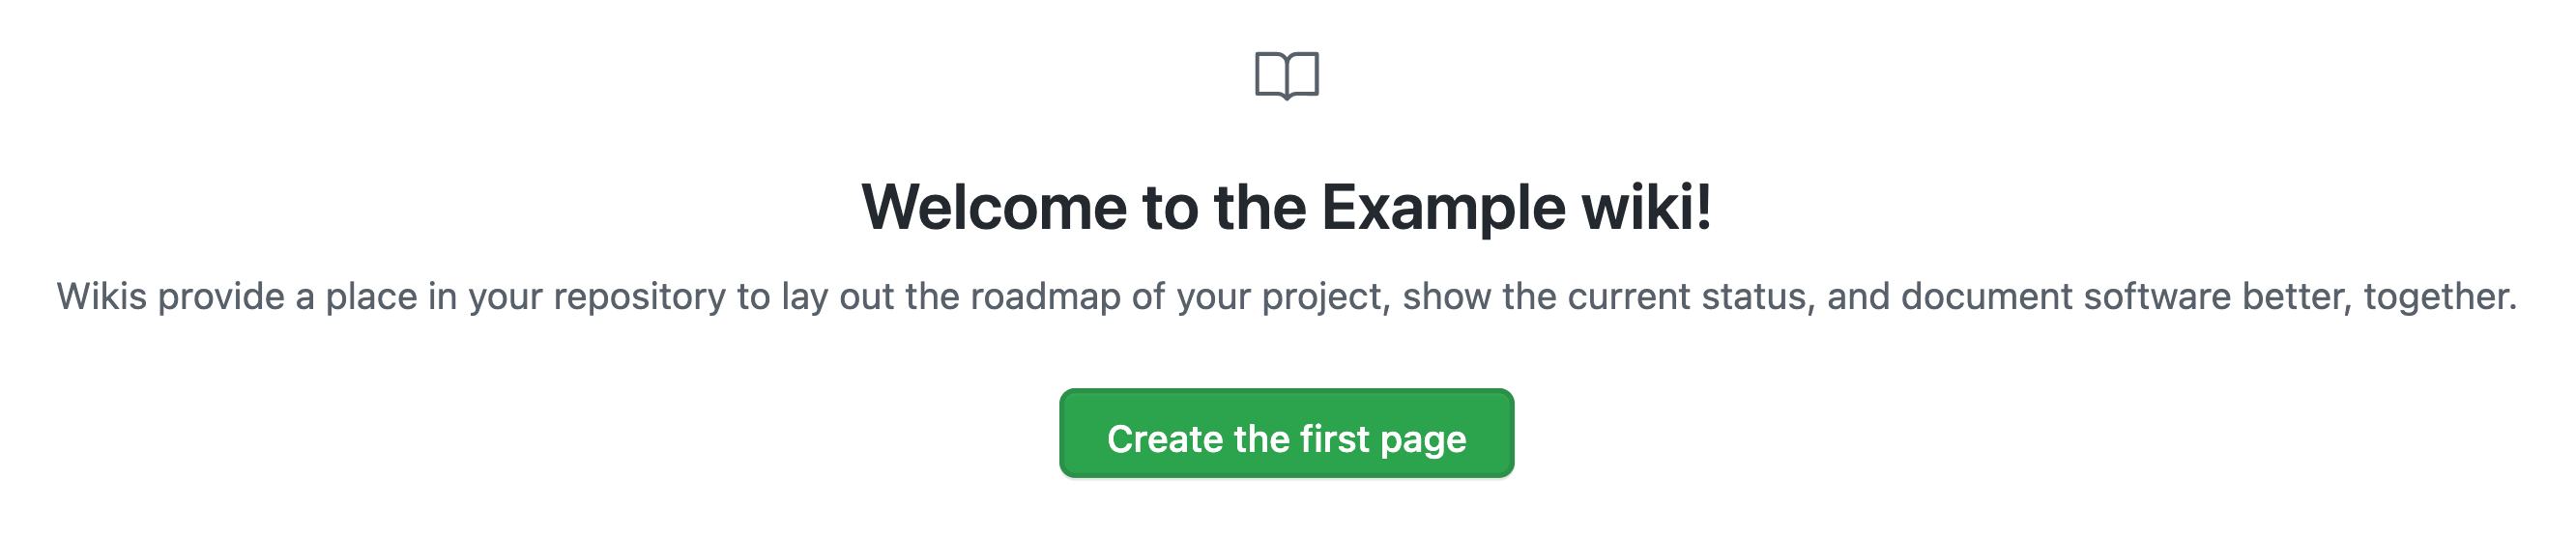
1. Initialize Wiki
Initialize the Wiki in your repository, by adding at least one page.
Why? It will create https://github.com/<repository-owner>/<repository-name>.wiki.git.
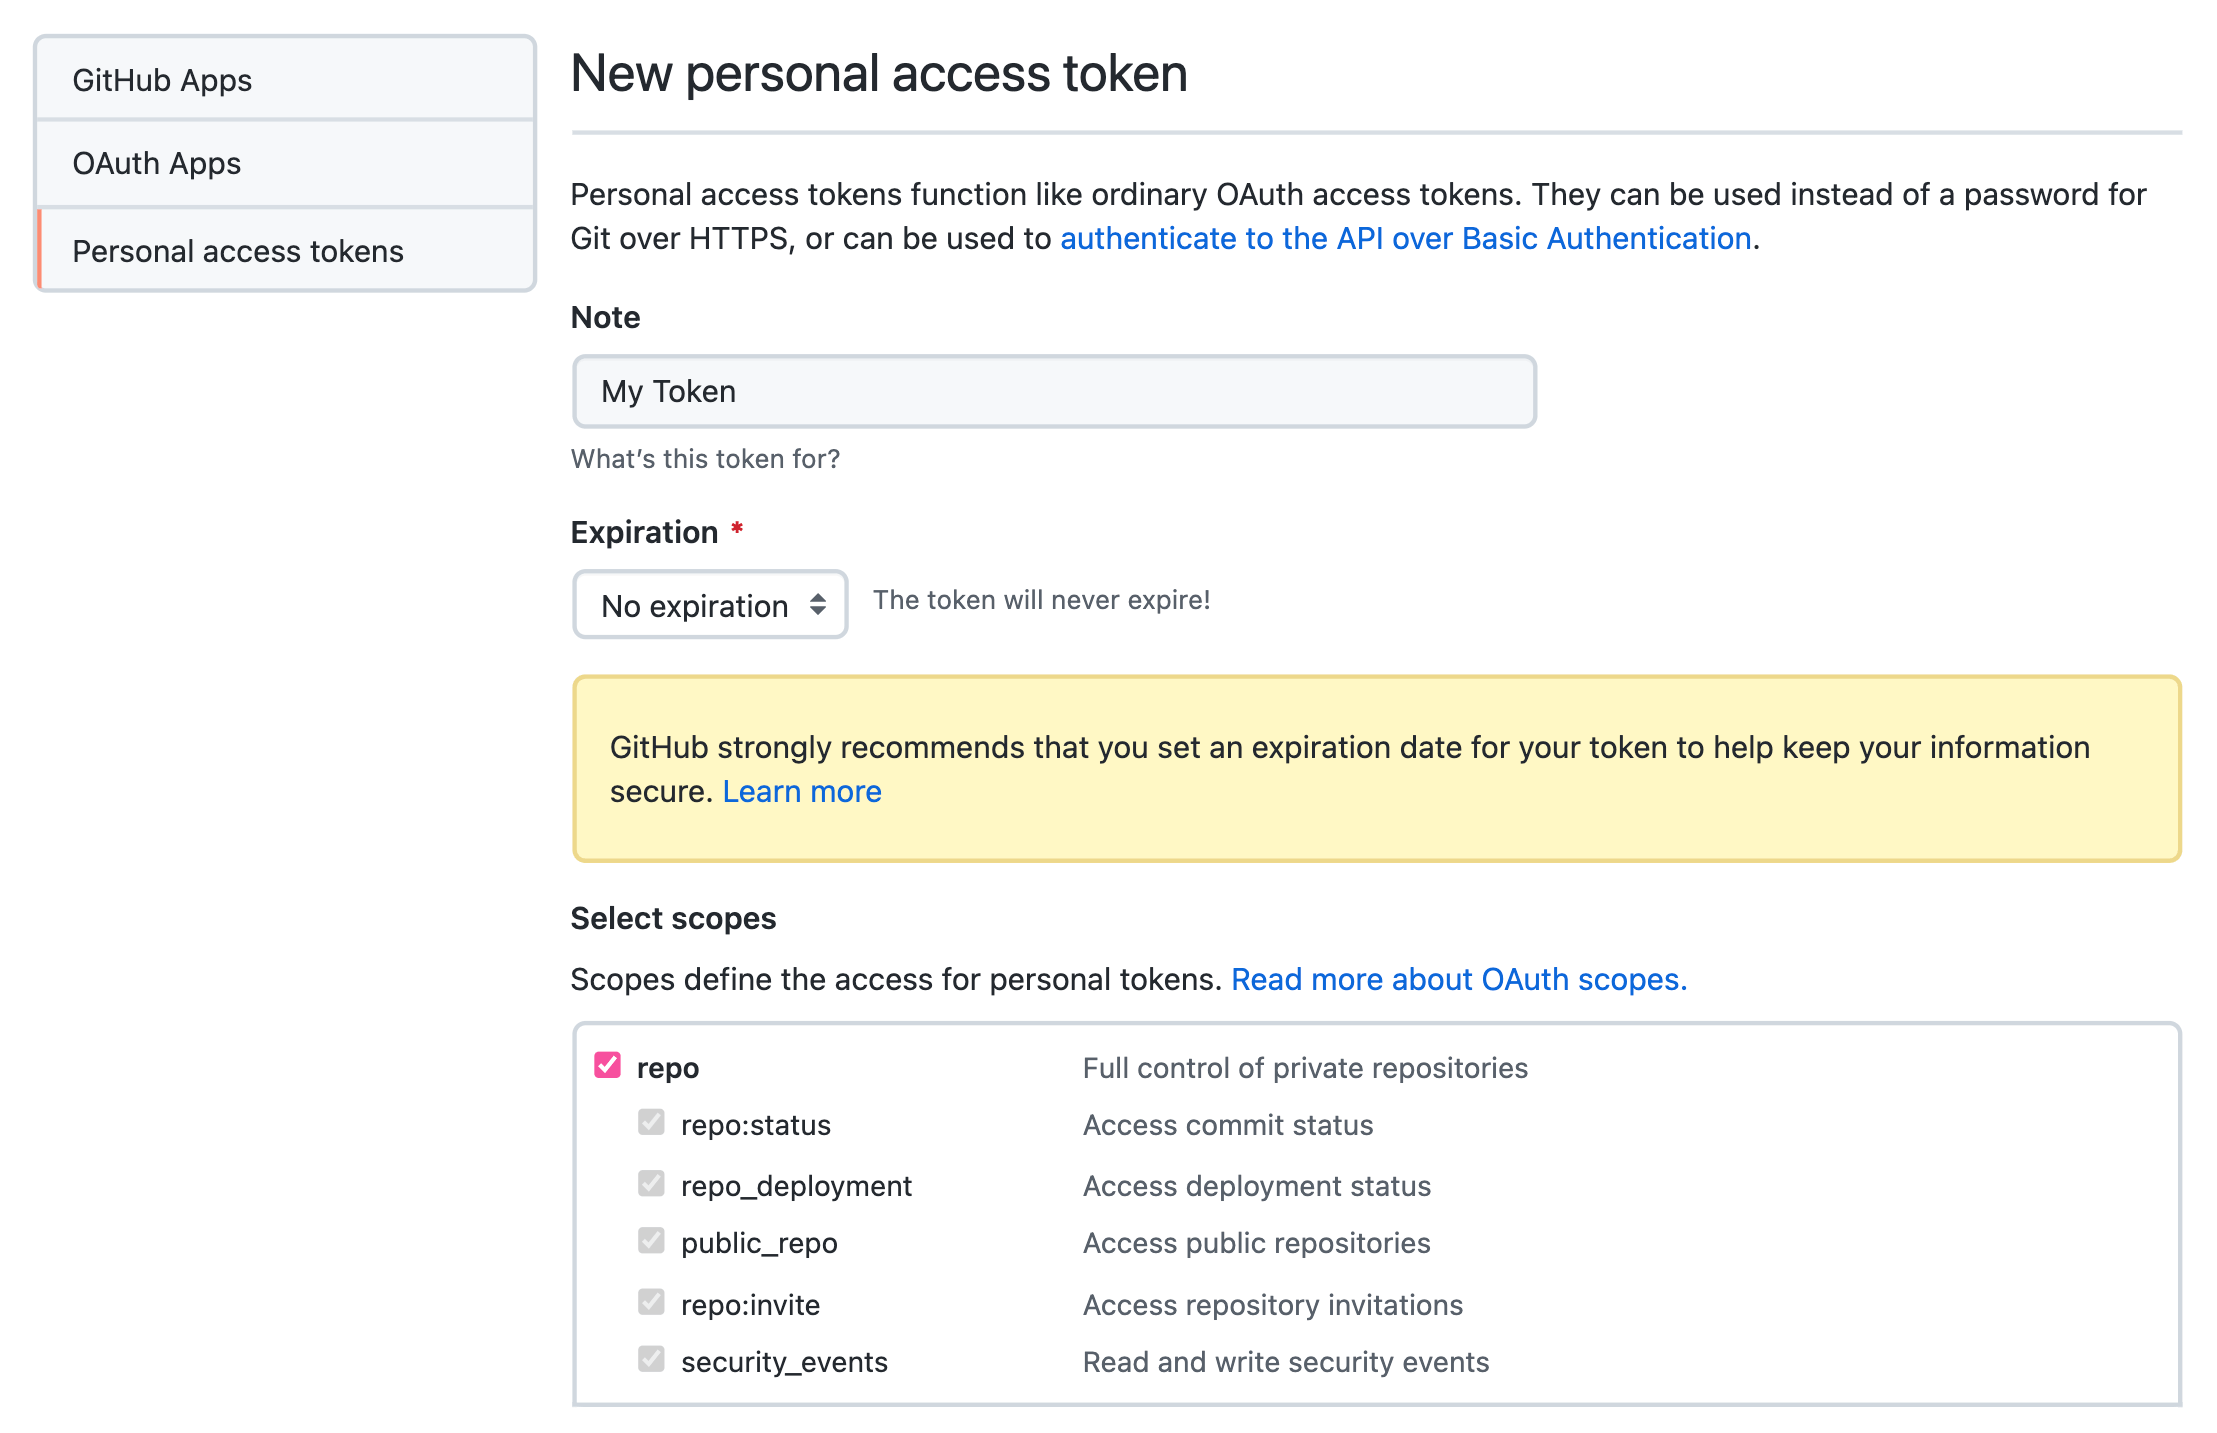
2. Create Personal Access Token
Create a personal access token with repo scope enabled.
Why? A personal access token is required to make repository operations possible from our code.
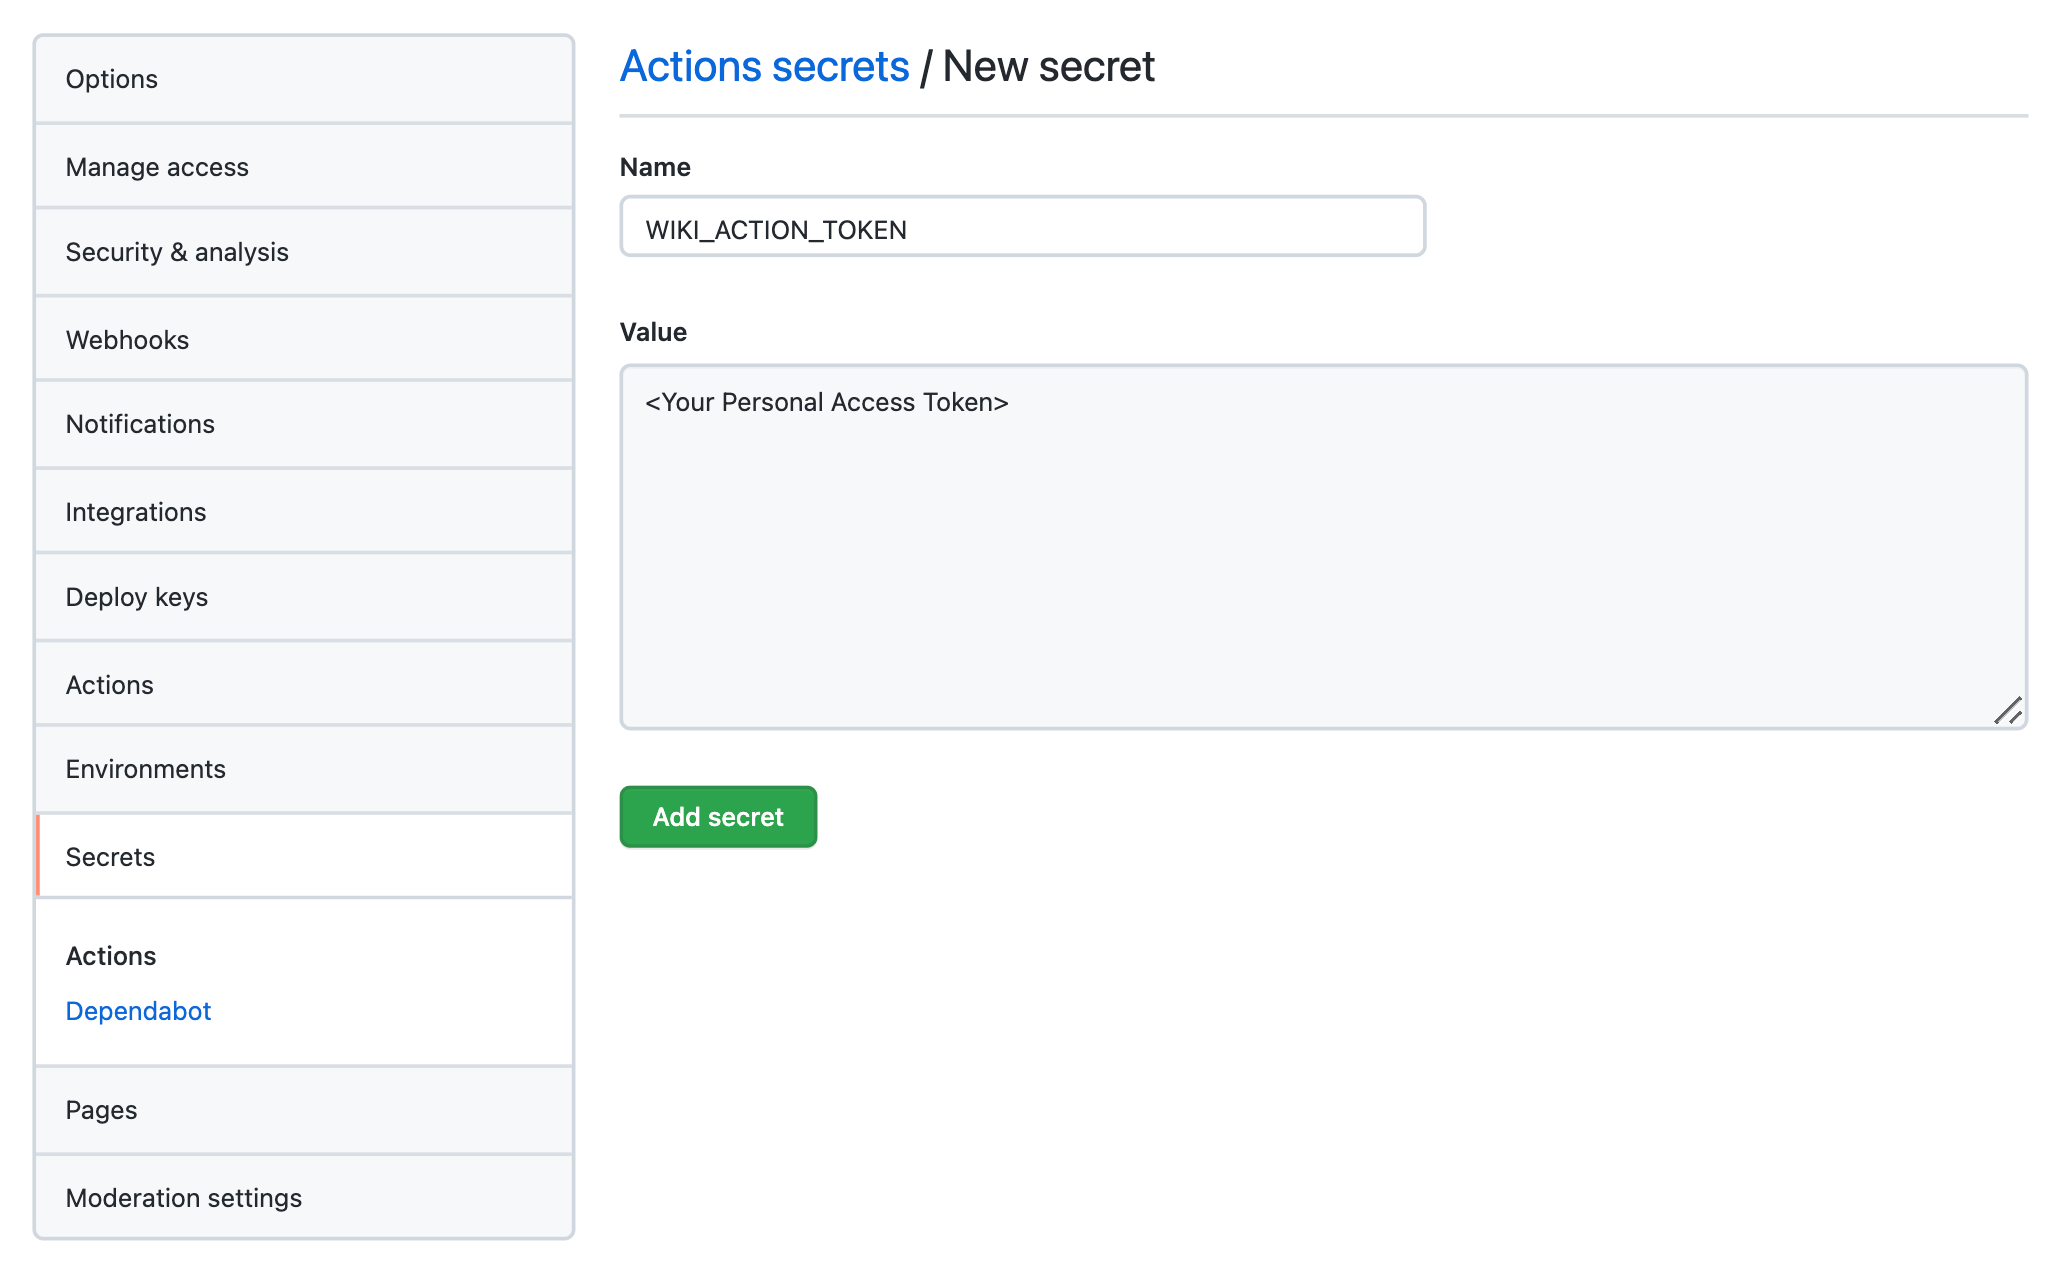
3. Create Repository Secret
Create a repository secret that consists of the access token, we’ll call it WIKI_ACTION_TOKEN.
Why? A repository secret is available to use in GitHub actions, while still keeping its value secure.
4. Create Documentation Folder
Create a new folder on the root level of your project, we’ll call it docs.
Why? We’ll use this folder to keep our documentation centralized.
5. Add Documentation
Add a Markdown file and add your content, we’ll call it Home.md.
Why? Each file will represent a page on your Wiki, which will take the filename as its title.
6. Add Script
Add the below script in the .github/workflows folder, we’ll call it publish_docs_to_wiki.yml.
Why? GitHub Actions will execute all workflows within this folder.
name: Publish docs to Wiki

# Trigger this action only if there are changes pushed to the docs/** directory under the main branch
on:
  push:
    paths:
      - docs/** # This includes all sub folders
    branches:
      - main # This can be changed to any branch of your preference

env:
  USER_TOKEN: ${{ secrets.WIKI_ACTION_TOKEN }} # This is the repository secret
  USER_NAME: <USERNAME> # Enter the username of your (bot) account
  USER_EMAIL: <EMAIL> # Enter the e-mail of your (bot) account
  OWNER: ${{ github.event.repository.owner.name }} # This is the repository owner
  REPOSITORY_NAME: ${{ github.event.repository.name }} # This is the repository name

jobs:
  publish_docs_to_wiki:
    name: Publish docs to Wiki
    runs-on: ubuntu-latest
    steps:
      - name: Checkout repository
      - uses: actions/checkout@v2

      # 1. Create folder named `tmp_wiki`
      # 2. Initialize Git
      # 3. Pull old Wiki content
      - name: Pull content from wiki
        run: |
          mkdir tmp_wiki
          cd tmp_wiki
          git init
          git config user.name $USER_NAME
          git config user.email $USER_EMAIL
          git pull https://[email protected]/$OWNER/$REPOSITORY_NAME.wiki.git
      # 4. Synchronize differences between `docs` & `tmp_wiki`
      # 5. Push new Wiki content
      - name: Push content to wiki
        run: |
          rsync -av --delete docs/ tmp_wiki/ --exclude .git
          cd tmp_wiki
          git add .
          git commit -m "Update Wiki content"
          git push -f --set-upstream https://[email protected]/$OWNER/$REPOSITORY_NAME.wiki.git master
7. Execute Script
Push your changes, create a pull request, merge it up and see the wonders of GitHub Actions!
Why? Feel proud! Everything is working correctly! 🤪
Conclusion ✅
Go get a coffee, take a moment to celebrate, and introduce this to your co-workers, because every improvement in team collaboration is a victory. Reviewing code is essential and so should it be for reviewing documentation, especially when working in teams.
For a full code example, click here. 🚀
Feeling unsure on how to organize your GitHub Wiki? Check out our guidelines.