
iOS developers are accustomed to working with UITableView to present a list of data on the screen. However, dealing with UITableViewDataSource protocol and its reusable cells to implement a form has always baffled iOS developers the most.
Let’s take a look at this registration form:
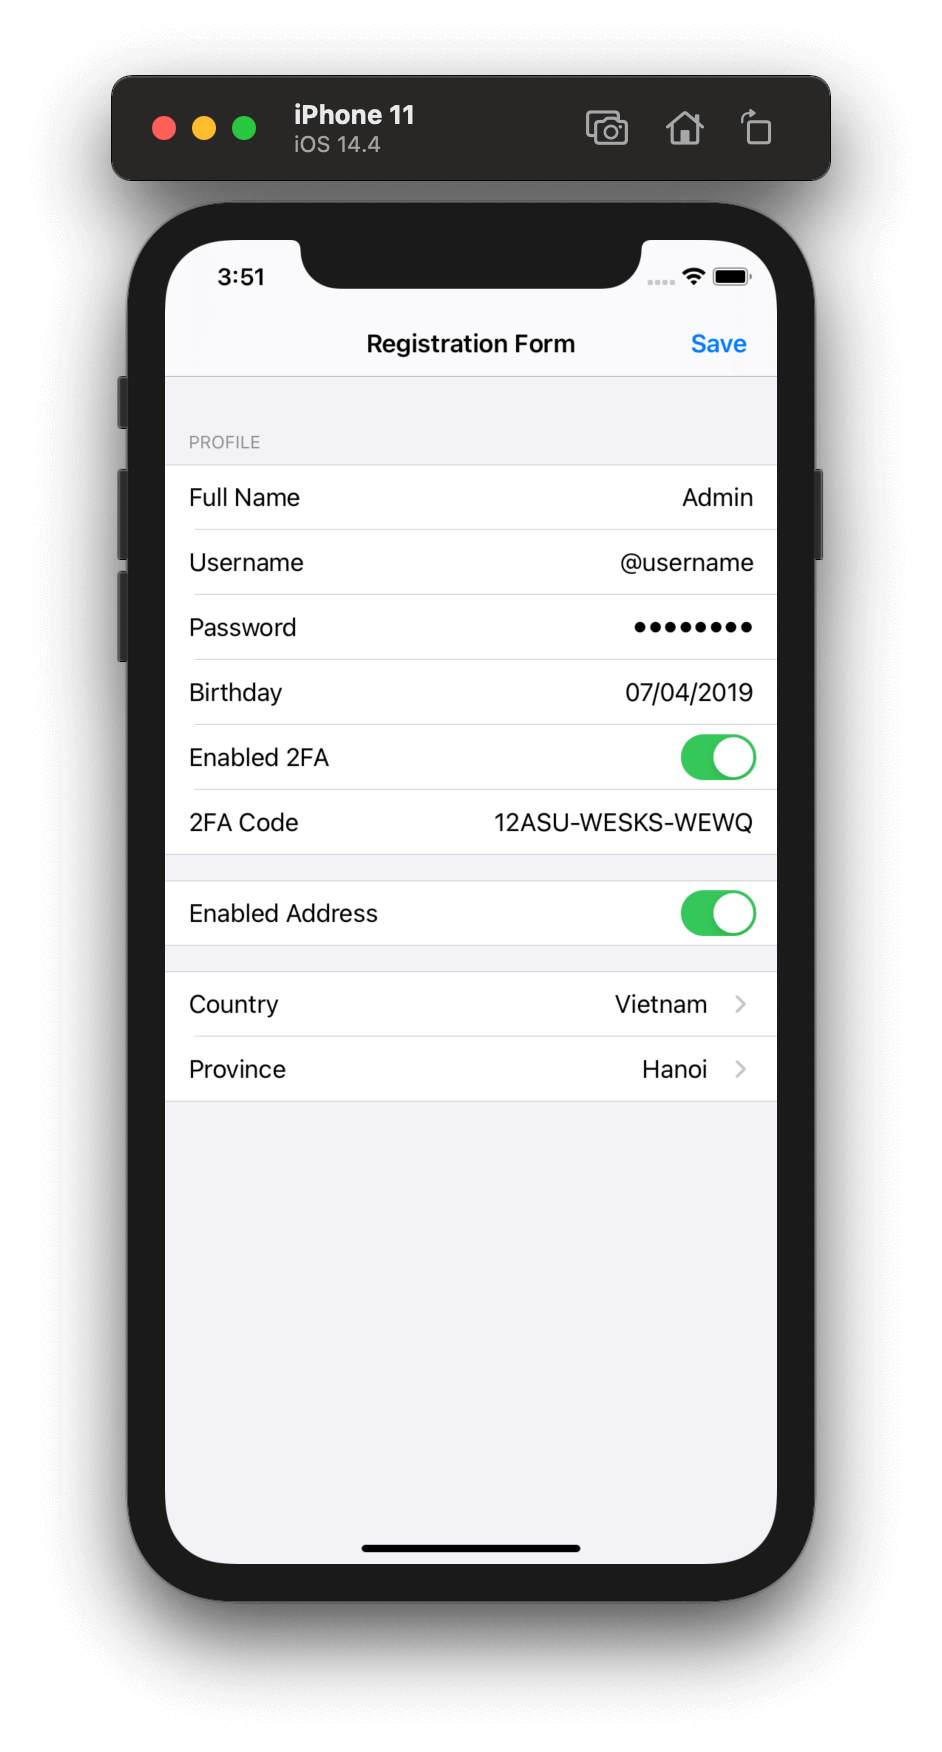
Based on the UI above, there are different types of cells on the registration form namely: an input text cell, a date picker cell, a toggle cell, and a selectable cell. If a developer implements it in a standard way, the project will have tons of code in cellForRow function, for example:
func tableView(_ tableView: UITableView, cellForRowAt indexPath: IndexPath) -> UITableViewCell {
    guard let item = viewModel.cellItem(at: indexPath) else { return UITableViewCell() }
    switch item.type {
    case .fullName:
        let cell = tableView.dequeue(TextInputTableViewCell.self)
        cell.configure(with: item)
        return cell
    case .password:
        let cell = tableView.dequeue(TextSecureInputTableViewCell.self)
        cell.configure(with: item)
        return cell
    case .birthday:
        let cell = tableView.dequeue(DateInputTableViewCell.self)
        cell.configure(with: item)
        return cell
    case .enabled2FA:
        let cell = tableView.dequeue(ToggleInputTableViewCell.self)
        cell.configure(with: item)
        return cell
    case .country:
        let cell = tableView.dequeue(SelectableInputTableViewCell.self)
        cell.configure(with: item)
        return cell
    // and more cases...
    }
}
In this post, we will show how to create a clean and maintainable UITableView by using protocols with examples so that the function cellForRow will be reduced to only a few lines of code.
UITableView and Protocol Oriented Cells
FormField
As mentioned, when a form has to support different types of cells, all the configuration for the cell happens in the cellForRow function, usually based on the index path. The downside is that when updating (adding, removing, or changing its position) multiple cell types, it will make the code complex and hard to maintain.
The FormField protocol will help iOS developers to write clean and maintainable table view code by separating the configuration for each type of cell.
import UIKit

protocol FormField: AnyObject {

    var height: CGFloat { get }

    func register(for tableView: UITableView)
    func dequeue(for tableView: UITableView, at indexPath: IndexPath) -> UITableViewCell
}
When creating a new cell to show on the table view, we just need to create a field and make it conform to this protocol.
Let’s look at the implementation:
import UIKit

final class TextInputFormField {

    var viewModel: TextInputViewModel

    init(viewModel: TextInputViewModel) {
        self.key = key
        self.viewModel = viewModel
    }
}

// MARK: - FormField

extension TextInputFormField: FormField {

    var height: CGFloat { 44.0 }

    func register(for tableView: UITableView) {
        tableView.register(TextInputCell.self, forCellReuseIdentifier: "TextInputCell")
    }

    func dequeue(for tableView: UITableView, at indexPath: IndexPath) -> UITableViewCell {
        let cell = tableView.dequeueReusableCell(withIdentifier: "TextInputCell", for: indexPath) as! TextInputCell
        cell.configure(viewModel)
        return cell
    }
}
-
TextInputCellis aUITableViewCellthat contains a label and a text field. -
TextInputViewModelis a view model that will be used to configure theTextInputCell
Here is the configure function in TextInputCell:
extension TextInputCell {

    func configure(_ viewModel: TextInputViewModel) {
        titleLabel.text = viewModel.title
        textField.placeholder = viewModel.title
        textField.text = viewModel.value
        textField.isSecureTextEntry = viewModel.isSecure
    }
}
Creating the base controller
In addition to the FormField protocol, we will need to have a base controller FormViewController that will implement UITableViewDataSource and UITableViewDelegate.
This base controller can then be used in different modules by setting the right data into the fields attribute.
class FormViewController: UIViewController {

    let tableView = UITableView(frame: .zero, style: .grouped)

    var fields: [FormField] = [] {
        didSet {
            for field in fields {
                field.register(for: tableView)
            }
        }
    }

    override func viewDidLoad() {
        super.viewDidLoad()
        tableView.delegate = self
        tableView.dataSource = self
    }
}

// MARK: - UITableViewDataSource

extension FormViewController: UITableViewDataSource {

    func tableView(_ tableView: UITableView, numberOfRowsInSection section: Int) -> Int {
        return dataSource.fields.count
    }

    func tableView(_ tableView: UITableView, cellForRowAt indexPath: IndexPath) -> UITableViewCell {
        let field = dataSource.fields[indexPath.row]
        return field.dequeue(for: tableView, at: indexPath)
    }
}

// MARK: - UITableViewDelegate

extension FormViewController: UITableViewDelegate {

    func tableView(_ tableView: UITableView, heightForRowAt indexPath: IndexPath) -> CGFloat {
        let field = dataSource.fields[indexPath.row]
        return field.height
    }
}
With the base controller now defined, we can now, for example, create a module called FormDemo to create a registration form.
final class FormDemoViewController: FormViewController {

    override func viewDidLoad() {
        super.viewDidLoad()
        fields = [
            TextInputFormField(viewModel: .init(title: "Username")),
            TextInputFormField(viewModel: .init(title: "Password", isSecure: true))
        ]
    }
}
Here is the result:
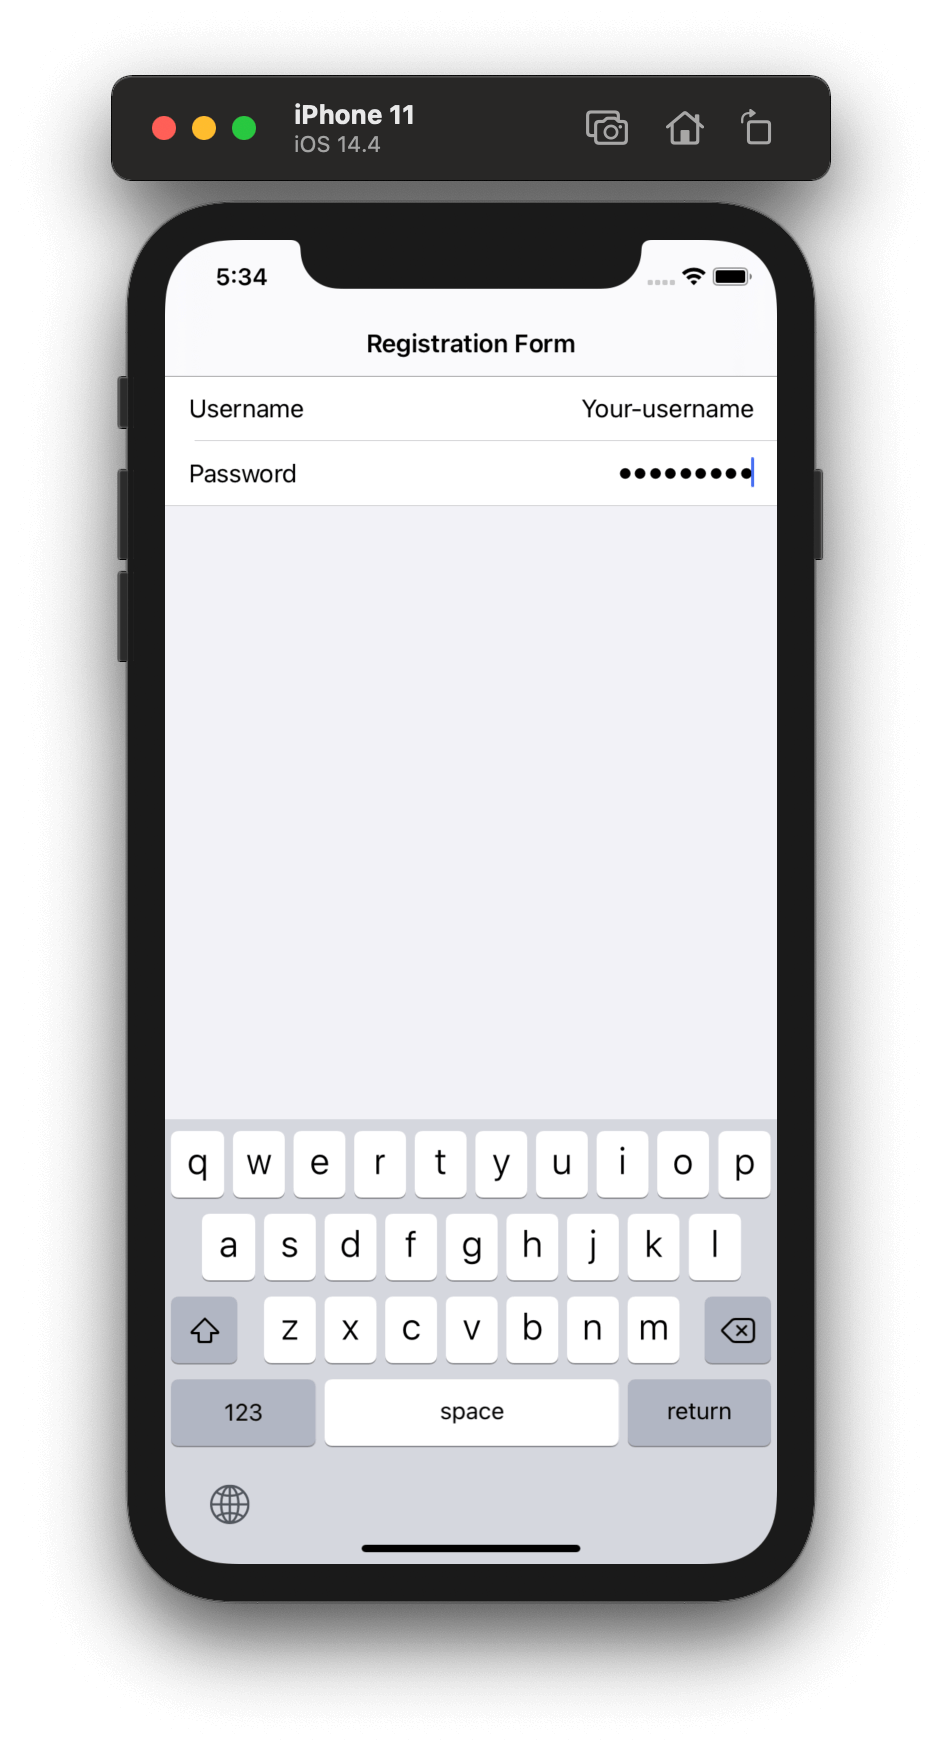
Create a Toggle Cell
In the event that it would be necessary to add another type of cell in the table view, we can just create another field type and make it conform to FormField .
For example, let’s say that we want to create a toggle cell:
import UIKit

final class ToggleInputFormField {

    var viewModel: ToggleInputViewModel

    init(viewModel: ToggleInputViewModel) {
        self.viewModel = viewModel
    }
}

// MARK: - FormField

extension ToggleInputFormField: FormField {

    var height: CGFloat { 44.0 }

    func register(for tableView: UITableView) {
        tableView.register(ToggleInputCell.self, forCellReuseIdentifier: "ToggleInputCell")
    }

    func dequeue(for tableView: UITableView, at indexPath: IndexPath) -> UITableViewCell {
        let cell = tableView.dequeueReusableCell(withIdentifier: "ToggleInputCell", for: indexPath) as! ToggleInputCell
        cell.configure(viewModel)
        return cell
    }
}
ToggleInputCell only contains a label and a switch.
Then let’s update the fields attribute in FormDemoViewController:
final class FormDemoViewController: FormViewController {

    override func viewDidLoad() {
        super.viewDidLoad()
        fields = [
            TextInputFormField(viewModel: .init(title: "Username")),
            TextInputFormField(viewModel: .init(title: "Password", isSecure: true))
            ToggleInputFormField(viewModel: .init(title: "Remember me"))
        ]
    }
}

So with a protocol and a base controller, we can easily create a clean, maintainable and flexible table view. We now just need to care about the attribute fields in the class FormViewController.
Sections
So what about sections? Technically, we can do the same like FormField for sections:
protocol FormSection: AnyObject {

    var header: FormHeader?
    var footer: FormFooter?
    var fields: [FormField]

    init(header: FormHeader? = nil, footer: FormFooter? = nil, fields: [FormField])
}
Then let’s update the class FormViewController by replacing fields by sections.
class FormViewController: UIViewController {

    let tableView = UITableView(frame: .zero, style: .grouped)

    var sections: [FormSection] = [] {
        didSet {
            for section in sections {
                for field in section.fields {
                    field.register(for: tableView)
                }
            }
        }
    }
}
Conclusion
After working with a registration form, we finally found an easy way to implement a form with good architecture, readability and maintainability. Protocols, in this case, are the perfect tool to implement forms.
By introducing two protocols (FormField and FormSection) and a base controller (FormViewController), iOS developers can easily handle any layout changes or updates to input cells because the developer now only needs to worry about updating the sections and fields attributes to reflect the changes.
The code presented in this blog post can be found on Github. In the repository, we added more code to easily handle the data and also get data from the form. If you have any questions, issues, or features, issues and pull requests are welcome!